Fork me on GitHub

GitHub Action记录

最近又被备案号发邮件通知,我的个站备案有问题了,才想起来好久没有折腾这个玩意了,也没有写东西了。这两天就不想用 Typecho ,就想写记录的方式都是形式,还是回归最朴实的方式吧。然后就准备还是继续在hexo上写东西了,然后用 GitHub Action 来进行个推送,保证 GitHub Pages还能正常使用,然后在增加小shell,来给我个人服务器上推送一份,本来好好的使用的 travisCI,那天看了下,好像更新了,又要重新申请,免费版本还要限制,那就 GitHub Action 了

hexo 使用GitHub Action 进行部署

Hexo 使用的是 GitHub Pages,我选择了 dev 分支进行笔记记录,然后 push 到 dev 分支,然后 master 分支作为主分支,用于发布页面。这里,我就想把页面的构建流程全部放在 GitHub Action 上进行这一系列的操作。

创建脚本

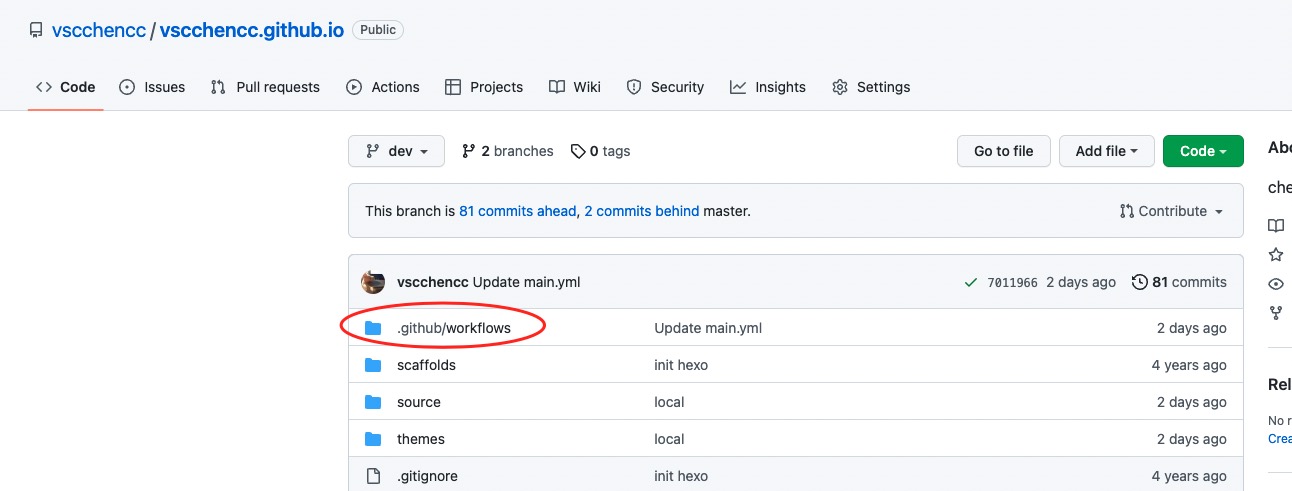
在项目根目录下,根据下图所示,创建.github/workflows 文件夹,然后在里面可以随便创建个 main.yml,或者起名其他的 yml文件

GitHub 创建脚步

了解下 Github Action yml规范

可以在官网,或者其他学习网站上,大概了解下这个流程写法的规范,以及方式和方法。然后进入yml,可以进行简单的脚本编写
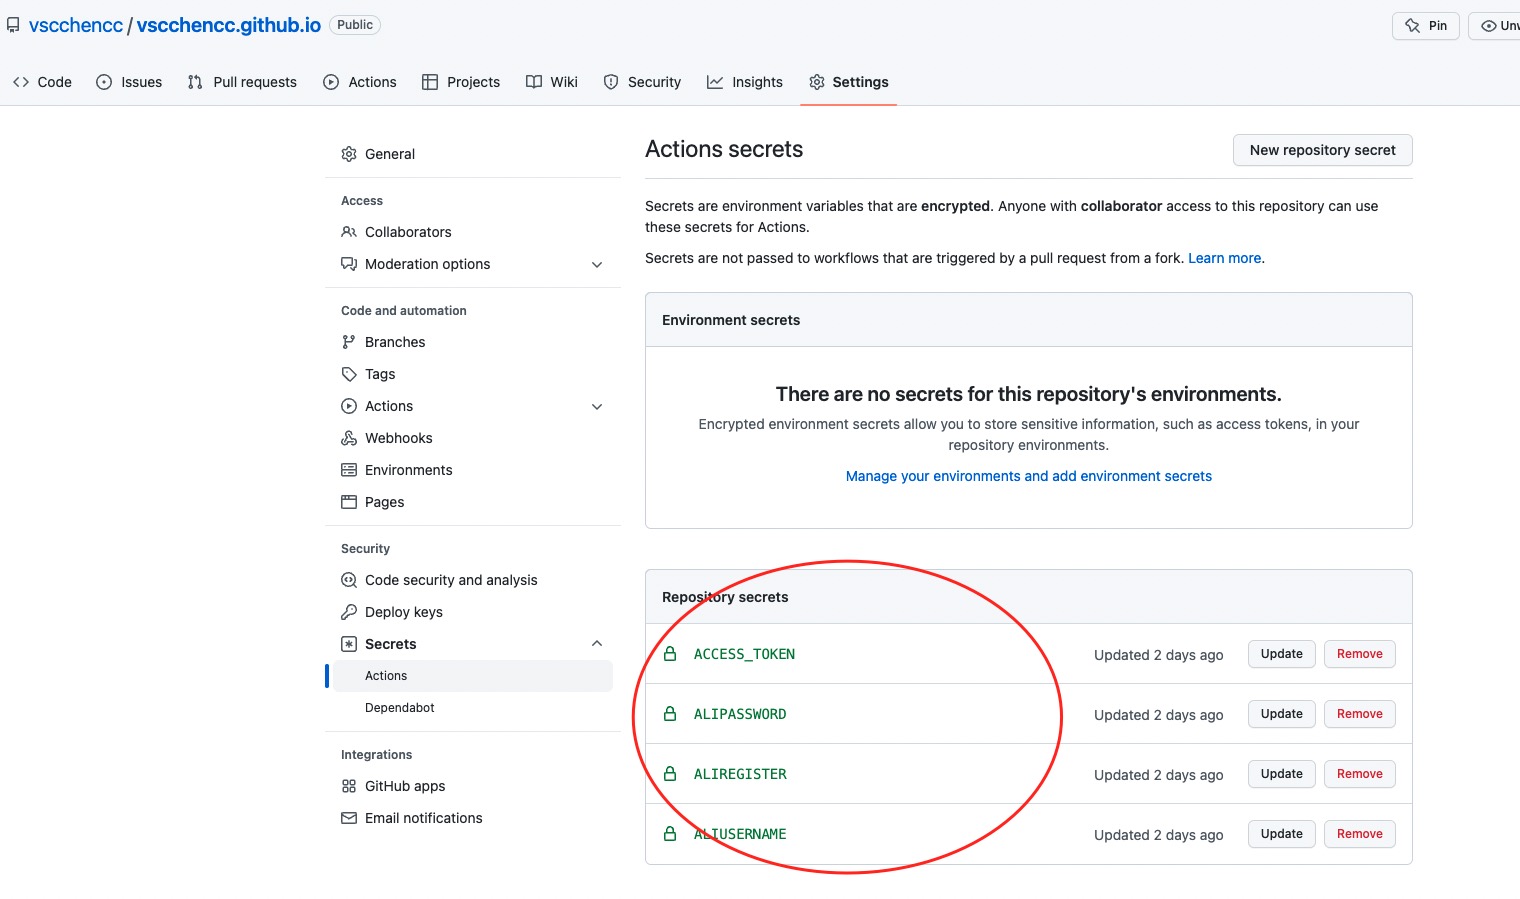
创建 secrets

对于在 yml 要使用到的自己的私密key 或者,一些服务器 IP 或者密码,不想暴露在外面的,都可以在这里创建,然后在 yml 中,通过变量的方式引用就可以了

GitHub 创建secret

分析 yml 脚本

1
2
3
4
5
6
7
8
9
10
11
12
13
14
15
16
17
18
19
20
21
22
23
24
25
26
27
28
29
30
31
32
33
34
35
36
37
38
39
40
41
42
43
44
45
46
47
48
49
50
51
52
53
54
55
56
57
58
59
60
61
62
63
64
65
66
67
68
69
70
71
72
73
74
75
76
77
78
79
80
81
82
83
84
85
86
87
88
89
90
91
92
93
94
95
96
97
# This workflow will run tests using node and then publish a package to GitHub Packages when a release is created
# For more information see: https://help.github.com/actions/language-and-framework-guides/publishing-nodejs-packages

name: Deploy Chencc_Blog #自动化的名称

on:
# Triggers the workflow on push or pull request events but only for the main branch
push: # push的时候触发
branches: [ dev ] # 哪些分支需要触发
pull_request:
branches: [ dev ]

# A workflow run is made up of one or more jobs that can run sequentially or in parallel
jobs:
# This workflow contains a single job called "build"
Blog_CI-CD:
runs-on: ubuntu-latest # 服务器环境
# Steps represent a sequence of tasks that will be executed as part of the job

steps:
# 检查代码
- name: Checkout
uses: actions/checkout@v2 #软件市场的名称
with: # 参数
submodules: true
persist-credentials: false

- name: Setup Node.js
# 设置 node.js 环境
uses: actions/setup-node@v1
with:
node-version: 'v12.14.0'

- name: Cache node modules
# 设置包缓存目录,避免每次下载
uses: actions/cache@v1
with:
path: ~/.npm
key: ${{ runner.os }}-node-${{ hashFiles('**/package-lock.json') }}

# 配置Hexo环境
- name: Setup Hexo
run: |
npm install hexo-cli -g
npm install


# 生成静态文件
- name: Build
run: |
hexo clean
hexo g

# 部署到 GitHub Pages
- name: upload GitHub repository
env:
# Github token
ACTION_DEPLOY_KEY: ${{ secrets.ACCESS_TOKEN }}
# 将编译后的博客文件推送到指定仓库
run: |
mkdir -p ~/.ssh/
echo "$ACTION_DEPLOY_KEY" > ~/.ssh/id_rsa
chmod 600 ~/.ssh/id_rsa
ssh-keyscan github.com >> ~/.ssh/known_hosts

git config --global user.name "chencc" #username改为你github的用户名
git config --global user.email "932322877@qq.com" #username改为你github的注册邮箱

hexo deploy

# set docker evn
- name: Set up Docker Buildx
id: buildx
uses: docker/setup-buildx-action@v1

# 登录到阿里云容器镜像服务
- name: Login to Ali Docker
uses: docker/login-action@v1
# 配置登录信息,secrets 变量在 github settings -> secrets 中设置
with:
registry: ${{ secrets.ALIREGISTER }}
username: ${{ secrets.ALIUSERNAME }}
password: ${{ secrets.ALIPASSWORD }}

# build 并且 push docker 镜像
- name: Build and push
id: docker_build
uses: docker/build-push-action@v2
with:
context: ./
file: ./Dockerfile
push: true
tags: ${{ secrets.ALIREGISTER }}/superchencc/chenccblog:latest

# 打印 docker 镜像 SHA256 Hash 值
- name: Image digest
run: echo ${{ steps.docker_build.outputs.digest }}
坚持原创技术分享,您的支持将鼓励我继续创作!